

A six-point shop check helps dealers prevent fitment errors, comebacks and unsafe wheel-and-tire installs.
By ANKUSI Engineering Team
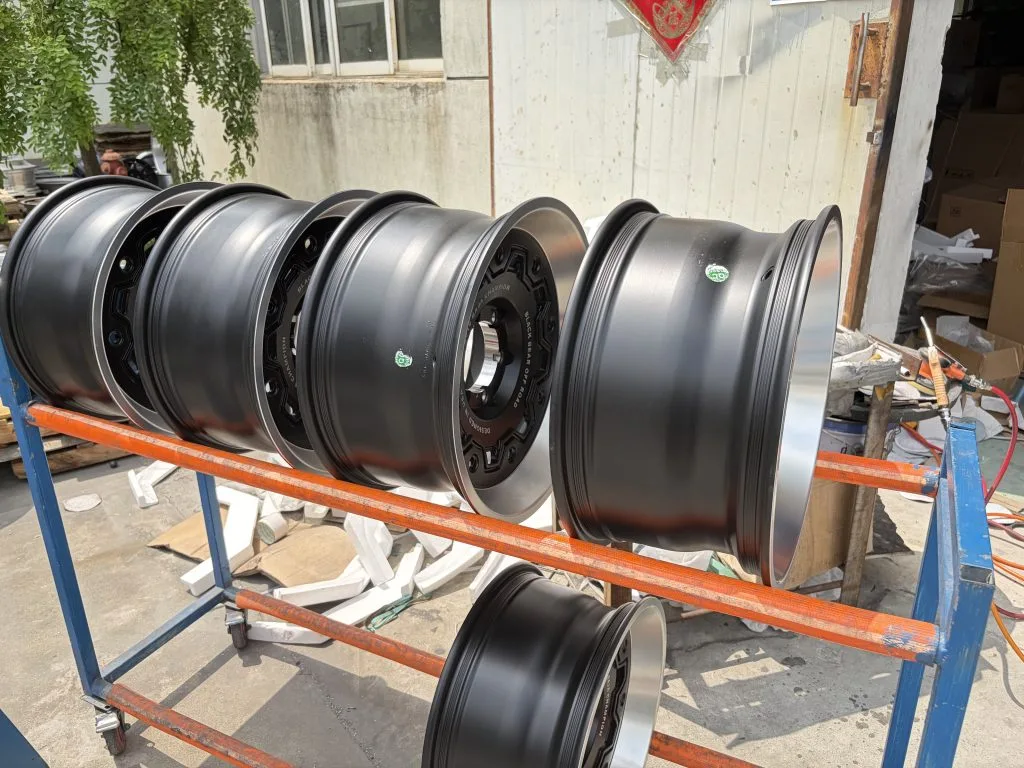
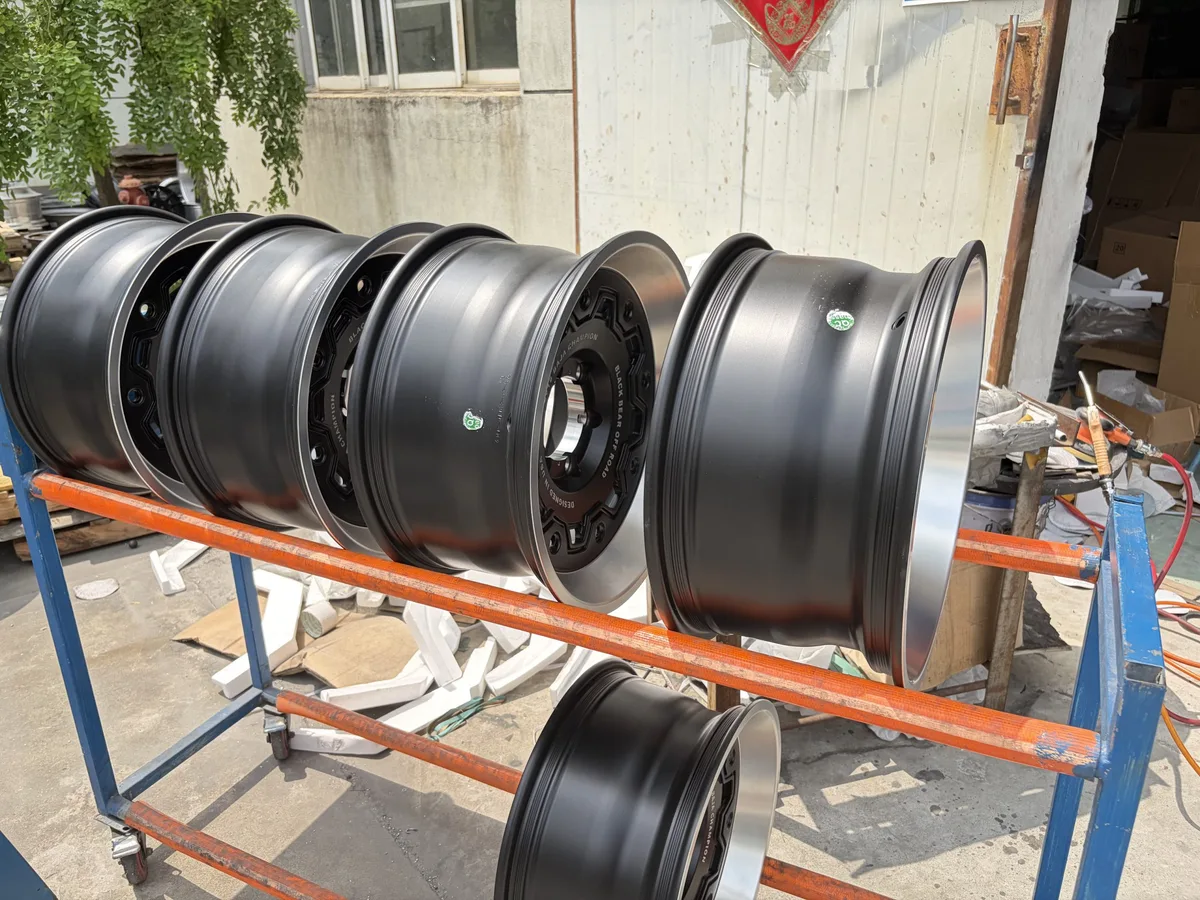
Finished wheel designs on a workshop inspection rack. Original photograph supplied by ANKUSI.
A customer may arrive with a wheel chosen online because the diameter and bolt count look right. The wheel may still touch a caliper, move the tire into the strut at full lock, or require hardware with a different seat. The expensive problems usually start before the tire changer.
A repeatable fitment check gives your service advisor a defensible recommendation and your technician a clear stop point. Use these six checks before you mount the tire or promise the customer that a wheel fits.
1. Start with the OE baseline
Record the VIN, model year, trim, drivetrain, original wheel and tire size, placard pressures and axle ratings. Also note brake, suspension or body changes and how the vehicle is used. A commuter, an EV and a pickup carrying tools do not create the same load case. Treat plus-sizing as application-specific; there is no universal “plus two inches” rule that replaces vehicle and tire-maker data.
2. Match the tire to the rim
Confirm bead-seat diameter first, then check that the proposed wheel width falls within the tire manufacturer's approved rim-width range. Verify load capability at the intended cold pressure, the required speed rating under your shop policy and the effect of overall diameter on clearance, gearing, the speedometer and driver-assistance systems. For staggered packages, document axle position and rotation limits.
3. Measure backspacing, then calculate offset
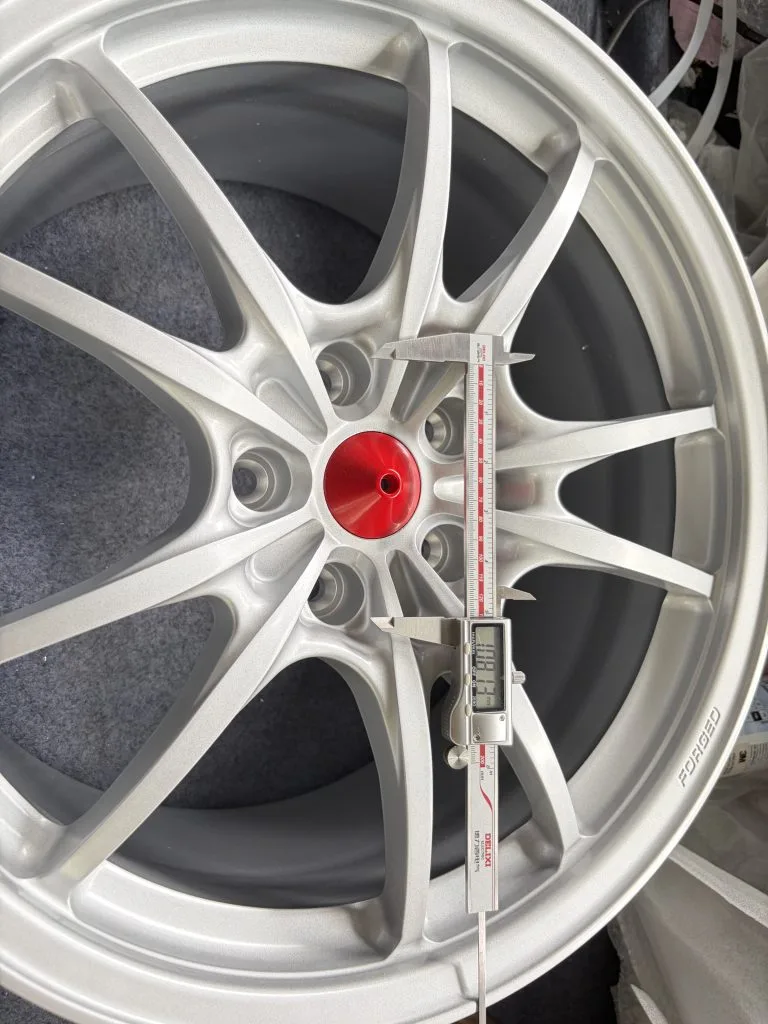
The photograph below shows a backspacing check. Lay the wheel face-down, bridge the rear rim lip with a straightedge and measure perpendicular to the hub mounting pad. Record that distance as backspacing. Then measure the wheel's actual outside-to-outside width across the rim flanges. Use the two measurements to calculate offset. A positive result is positive ET; a negative result is negative ET. Do not enter the nominal 9.0J or 10.0J width directly: the J value is bead-seat width, while this calculation needs the total outside width. Measure the full width instead of assuming the flanges add exactly one inch. The result verifies wheel geometry; it does not replace a physical tire, brake and suspension clearance check.
OFFSET FORMULA Offset (mm) = Backspacing (mm) - [Overall wheel width (mm) / 2] Using inches: Offset (mm) = [Backspacing (in) - Overall wheel width (in) / 2] x 25.4
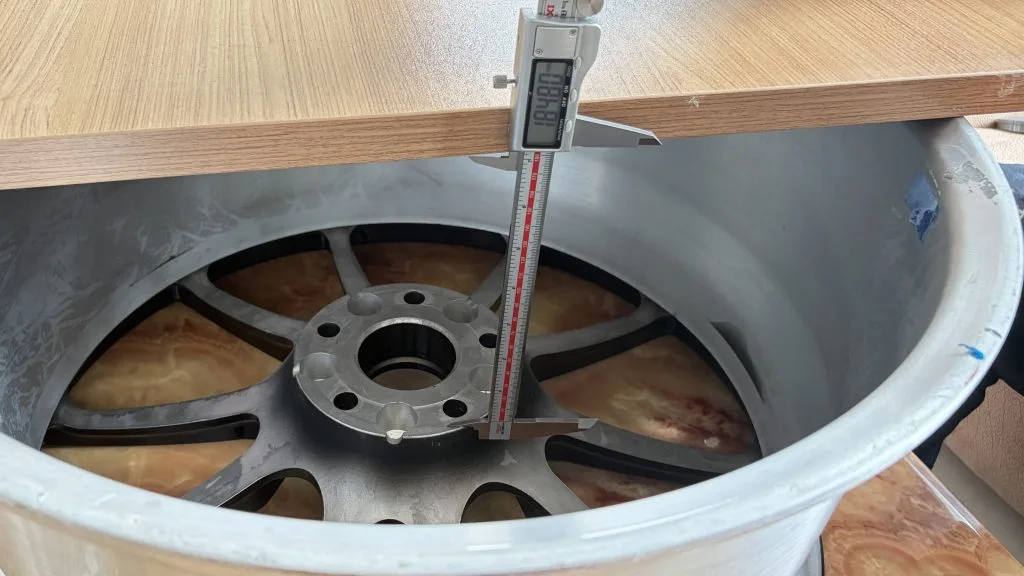
Backspacing is measured perpendicular from a straightedge across the rear rim lip to the hub mounting pad. Use the same flange references when measuring overall wheel width.
4. Verify the hub and hardware as one system
Check hole count and PCD, but continue with center bore, hub height, stud or bolt diameter and pitch, fastener length, engagement and seat geometry. Conical, ball and flat seats are not interchangeable. The wheel must sit flush on a clean hub face, with the correct centering ring when the wheel manufacturer specifies one. Do not use the hardware to pull a mismatched or obstructed wheel onto the hub.
5. Confirm capacity and component compatibility
The wheel's documented load rating should meet or exceed half of the vehicle's heaviest gross axle weight rating. The tire must also meet the original application’s load requirement. Check TPMS sensor and valve fit, brake barrel and spoke clearance, balance-weight space and any supplier restrictions. A wheel can have the correct diameter and PCD yet fail because its spoke profile crosses the caliper envelope.
6. Test-fit dynamically and sign it off
When returnability matters, test the bare wheel before mounting the tire. Confirm that it seats flat, accepts the correct hardware and rotates without touching the caliper or weights. With the tire installed, check both steering locks and the expected suspension travel for contact at the strut, control arms, hoses, liners and fender edges. Finish with cold pressure, TPMS service, the specified torque sequence, a road test and any re-torque instruction required by the wheel or vehicle supplier.
The shop record is part of the fitment
Attach the vehicle details, wheel and tire part numbers, ratings, hardware, key measurements, torque specification, photographs and technician initials to the repair order. That sheet protects the customer, the technician and the shop when a vehicle returns after later brake, suspension or tire changes. When the data conflicts or the clearance cannot be demonstrated, stop and ask the vehicle, tire or wheel manufacturer. Do not guess.
Six-point sign-off
- Vehicle and duty confirmed
- Tire–rim pairing approved
- Backspacing and offset verified
- Hub and hardware verified
- Load, TPMS and brakes cleared
- Dynamic test-fit documented
Author bio
The ANKUSI Engineering Team works with forged and custom wheel applications for passenger cars, performance vehicles and light trucks. Its day-to-day work includes wheel specification review, fitment verification and production checks for international customers. The team shares practical guidance intended to help distributors and installers reduce avoidable fitment errors. Learn more at ankusiwheels.com.
Source notes
- Michelin — tire and rim-width guidance
- USTMA — Care and Service of Passenger and Light Truck Tires
- NHTSA — Wheel and tire load guidance
- Tire Rack — wheel fitment and installation checks


